Image Manipulation
Hey bros, I was making a random character generator and I needed to manipulate textures. You know, cropping an image, putting one image on top of another, these things. I couldn’t find any tutorial about it, so I will make one myself.
The project I’m going to use only has two nodes: a Node2D as root, and a Sprite to display the modified image as his child.

I will use two images: a jpg picture of a cat, and a png with the godot icon.

![]()
Let’s begin, create a script for the Sprite node and store the 2 textures in constants.
extends Sprite

const CAT_TEXTURE: Texture = preload("res://images/YAMEROOO.jpg")
const GODOT_TEXURE: Texture = preload("res://images/Godot Icon.png")
We are going to manipulate the image inside the _init function. The first thing we have to do is convert the Texture constants into the Image class, since we cannot modify a Texture. To convert them, we only need to call the get_data function of the textures.
func _init() -> void:
    var cat_image: Image = CAT_TEXTURE.get_data()
    var godot_image: Image = GODOT_TEXURE.get_data()
Now, we are ready to start modifying the images.
Crop
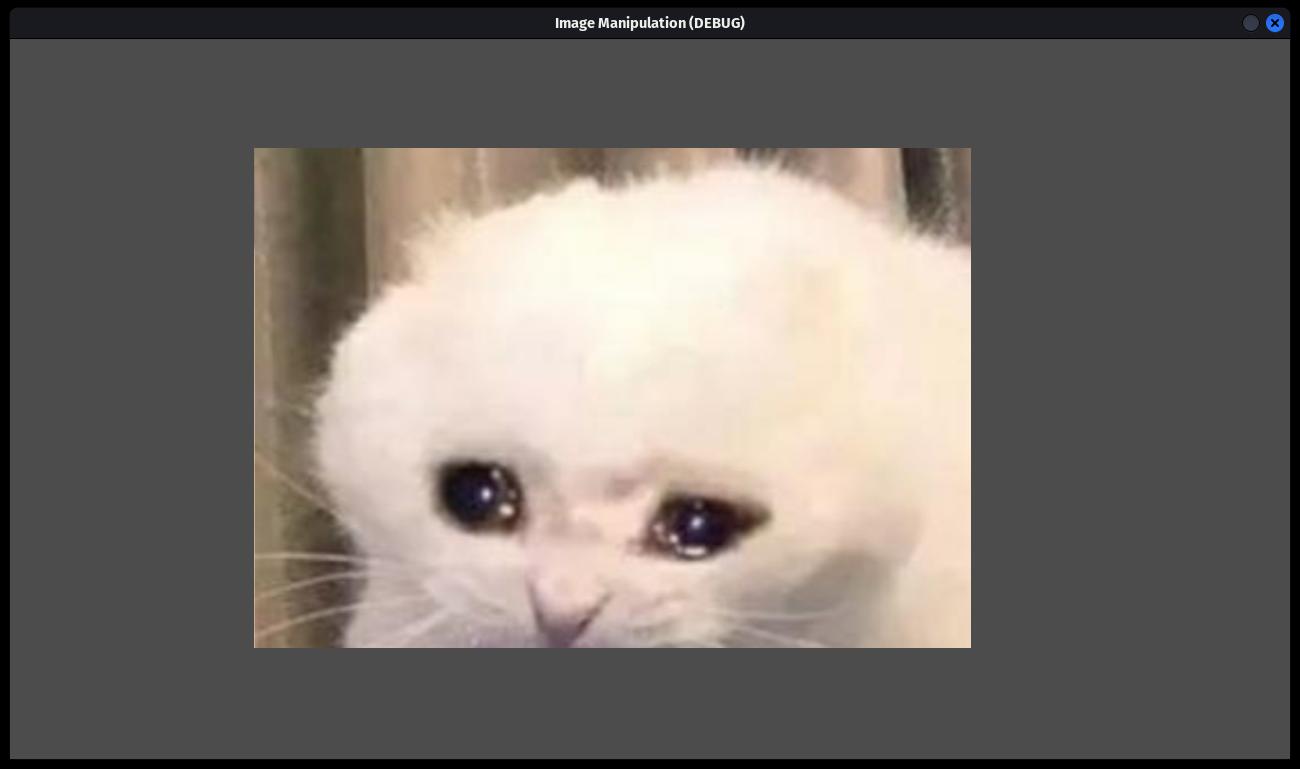
With the crop function we can get a part of the image starting at the top-left corner.
cat_image.crop(cat_image.get_width(), 500)

var image_texture: ImageTexture = ImageTexture.new()
image_texture.create_from_image(cat_image)
texture = image_texture
Note that I used the get_width function to get the width of the image in pixels. We can’t assign an Image to the Sprite texture directly, we need to convert it to an ImageTexture first. It’s easy, we create a new ImageTexture instance and we call his create_from_image function passing the modified image as the argument. Finally, we set the sprite texture. That’s the result:

Using blit_rect
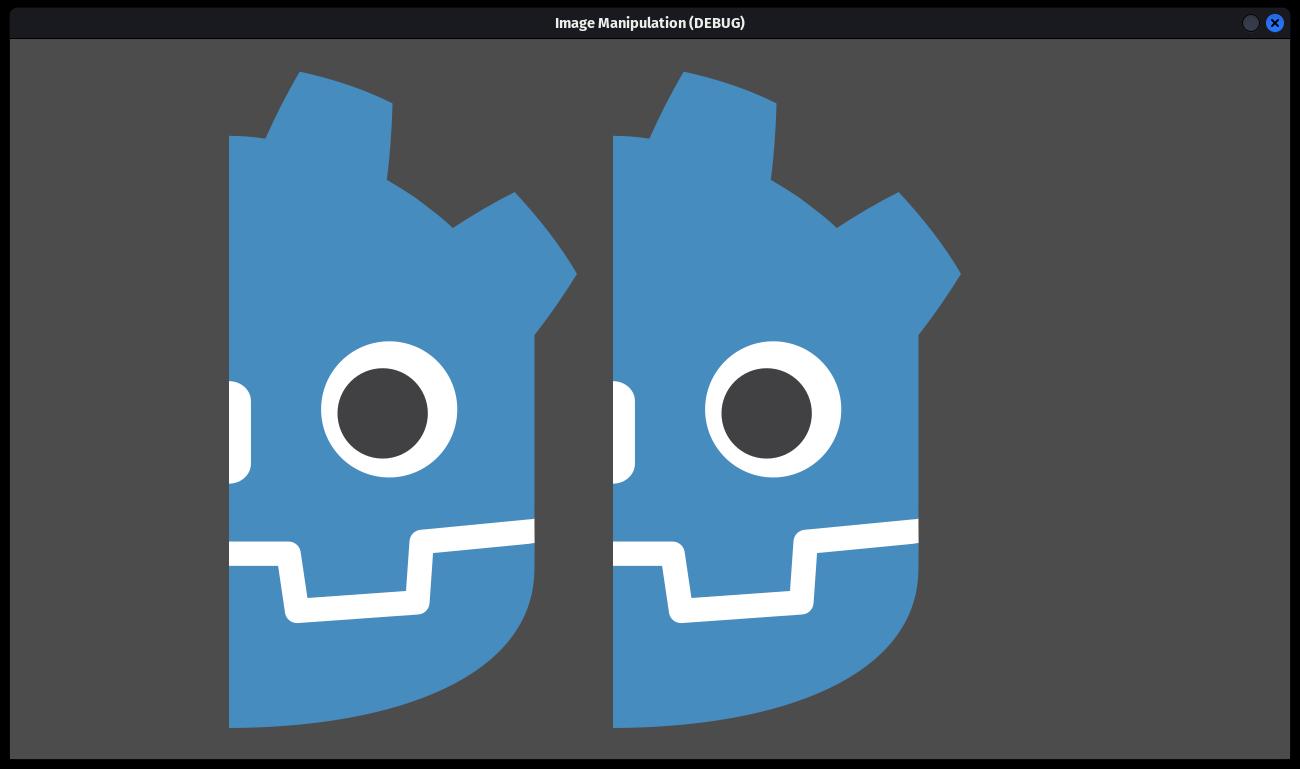
But what if we don’t want to crop the image with the top-left corner as the starting point? For that, we have the blit_rect function. First we need to create a new Image to store the result of blit_rect, since this function doesn’t remove the pixels outside the cropped area. Without a creating a new Image, the result would be:
var half_godot_width: int = godot_image.get_width() / 2
godot_image.blit_rect(godot_image, Rect2(half_godot_width, 0, half_godot_width, godot_image.get_height()), Vector2(0, 0))

var image_texture: ImageTexture = ImageTexture.new()
image_texture.create_from_image(godot_image)
texture = image_texture
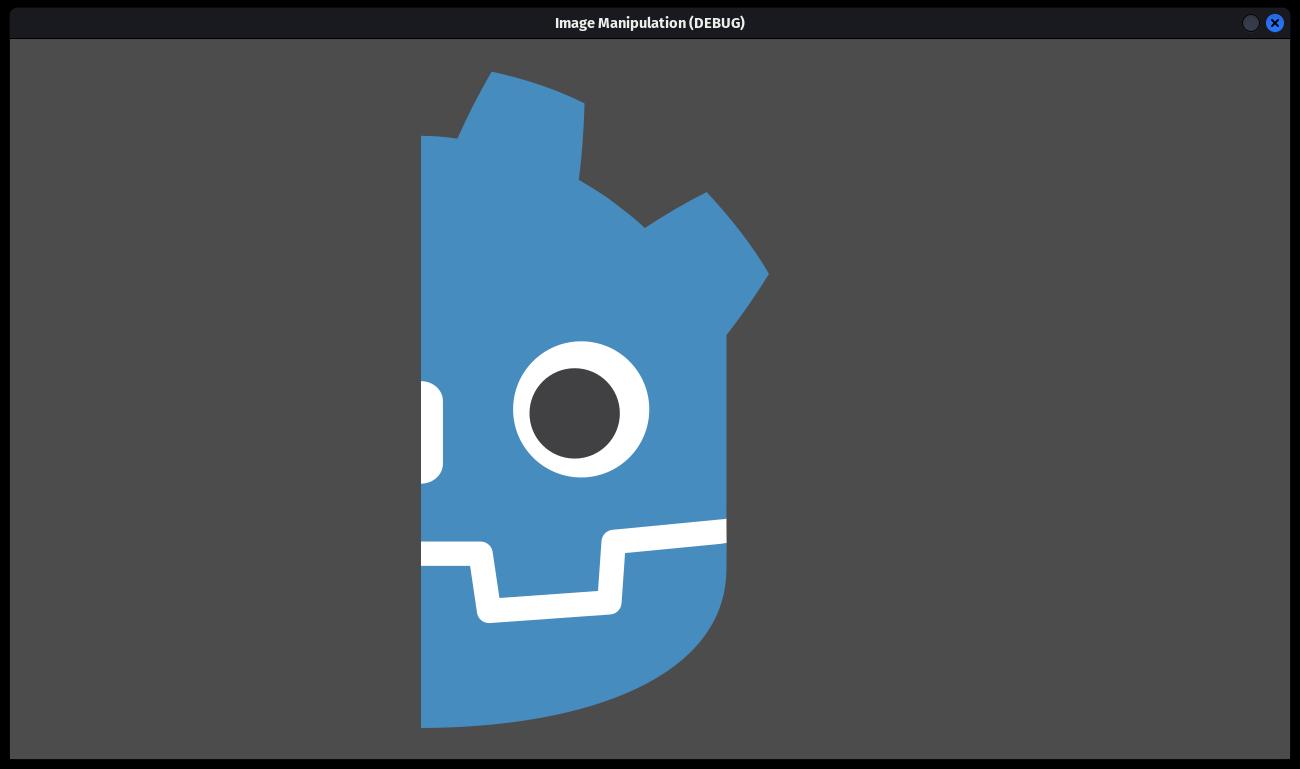
And that’s the result storing the blit_rect in a new image:
var half_godot_width: int = godot_image.get_width() / 2
var image: Image = Image.new()
image.create(half_godot_width, godot_image.get_height(), godot_image.has_mipmaps(), godot_image.get_format())

image.blit_rect(godot_image, Rect2(half_godot_width, 0, half_godot_width, godot_image.get_height()), Vector2(0, 0))

var image_texture: ImageTexture = ImageTexture.new()
image_texture.create_from_image(image)
texture = image_texture
To create a new Image we have to specify his width, height, bitmaps, and format. I use the values of the godot_image variable, but with half his width because I want to cut the image by the middle.
-
The blit_rect first parameter is the source image
-
The second parameter is the part of the image we want to crop
-
And the last parameter is the point where we want to paste the image fragment, (0, 0) because I want to paste the image at the point (0, 0) of the new image.
Now Imagine we want to paste the godot icon at the face of the cat. We could try doing it with the blit_rect function, but it’s not what we want:
godot_image.shrink_x2()
cat_image.convert(godot_image.get_format())
cat_image.blit_rect(godot_image, Rect2(0, 0, godot_image.get_width(), godot_image.get_height()), Vector2(150, 140))

var image_texture: ImageTexture = ImageTexture.new()
image_texture.create_from_image(cat_image)
texture = image_texture.jpg)
I reduced the size of the godot image to half with the shrink_x2 function. The images can’t be merged if their format is different. For that reason, I converted the cat image to the godot image format.
As you can see, the pixels around the godot image have disappeared. blit_rect overrides all the pixels below the image, the pixels around the godot icon with an alpha of 0 (completely transparent) take the place of the pixels below them.
Using blend_rect
We can use the blend_rect function to… well, to blend the 2 images. The function arguments are the same, the only thing it changes is the function name.
godot_image.shrink_x2()
cat_image.convert(godot_image.get_format())
cat_image.blend_rect(godot_image, Rect2(0, 0, godot_image.get_width(), godot_image.get_height()), Vector2(150, 140))

var image_texture: ImageTexture = ImageTexture.new()
image_texture.create_from_image(cat_image)
texture = image_texture
This time, instead of overriding the pixels, they are mixed. So, the transparent pixels of the godot image will have no effect and we will get this:
.jpg)
