Plane Shooter #1: Movement
We will start displaying the player image instead of the Ceramic logo.
Create a new script with the name “Plane”. Extend the class from the Quad class. Quad is a Ceramic class with a position and a texture, perfect for displaying sprites on the screen. All the planes will inherit from the Plane class. Add a global integer variable called speed, we will use it later to make the plane movement.
package;

import ceramic.Quad;

class Plane extends Quad {
    var speed:Int;
}
Create the constructor function. It has 3 parameters: the plane texture, its position, a Point object. A Point it’s a class that represents a point in the screen, it contains his x and y positions. And the last parameter is the speed.
public function new(texture:Texture, pos:Point, speed:Int) {
    super();
    this.texture = texture;
    this.pos(pos.x, pos.y);
    this.speed = speed;
    anchor(0.5, 0.5);
}
The first thing we have to do inside the constructor function is call the constructor of the Quad class using super() to initialise it.
Next we set the texture. Since the texture parameter and the texture global variable of the Quad class have the same name, we use “this” to refer to the global variable. We set the position using the pos function, with “this” to differentiate it from the parameter. The pos function accepts 2 parameters: the new position x and the new position y. Initialise the speed variable the same way we did with the texture.
Also, we can set the anchor point using the anchor function. This function modifies the offset taken to positionate the texture on the screen. With 0.5, it will be just at the centre.
We will come back to the Plane class later, for the moment leave it as he is. Create a file for the player class. Inside the file, define the player class, it has to extend the Plane class.
package;

import ceramic.Texture;
import ceramic.Point;

class Player extends Plane {
}
Create his constructor function. Add the same parameters as the Plane class: the texture, the position, and the speed. Inside the function, call the constructor of the parent class, the Plane class. Pass the parameters of the Player constructor to the super constructor to initialise the Plane class.
public function new(texture:Texture, pos:Point, speed:Int) {
    super(texture, pos, speed);
}
Now, we have to add a Player instance into the MainScene. Open the MainScene script and remove the logo and text global variables. In their place, add a global variable for the player.
The preload function is responsible for loading the images we use in our game. So, replace the ceramic logo image with the image you want to use for the player, in my case, I use the first ship of the Kenney assets.
class MainScene extends Scene {
    var player:Player;

    override function preload() {
        // Add any asset you want to load here

        assets.add(Images.KENNEY_PIXELSHMUP__SHIPS__SHIP_0000);
    }
// [...]
After preloading the assets, the create function is called automatically. Remove all the default content of the function. Initialise the player global variable with the corresponding parameters:
-
To get the texture you have to call the texture function of the assets variable and select it from the Images class.
-
For the initial position parameter, create a new instance of the Point class with the x position as half the width and the y position as half the height. Width and height are variables of the Scene class that indicates his dimension.
-
The last parameter is the speed, 300 will do for the moment.
override function create() {
    // Called when scene has finished preloading

    // Display player
    player = new Player(assets.texture(Images.KENNEY_PIXELSHMUP__SHIPS__SHIP_0000), new Point(width / 2, height / 2), 300);
    add(player);
}
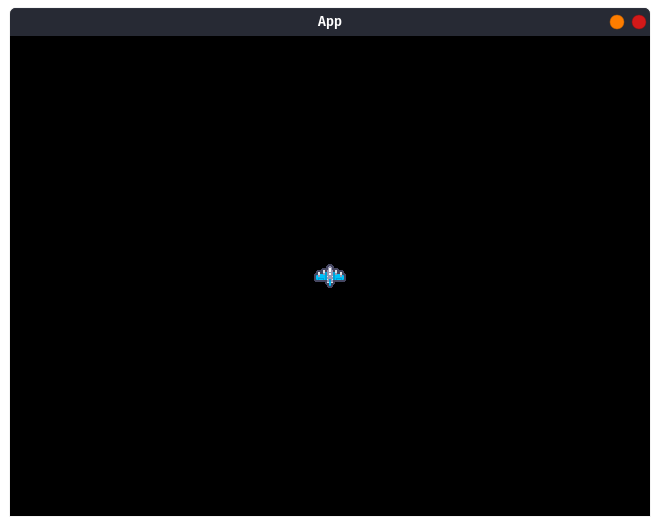
Play the game, control shift B, and you will see the player at the centre of the screen.

Now that we spawned the player, it’s time to make it move.
There is not a vector class at the moment, so, let’s start creating a very basic two dimensional vector class. Create his file and make the class an abstract type of the Point class, because the vector will be like the Point but with additional functions. Thanks to the abstract type, the vector class will be changed to Point after compiling the game. To use the Point variables and constructor, we must add two metadatas: @formard(x, y) for the x and y variables, and @formard.new for the constructor.
Now, let’s implement the functions:
-
Firstly, we create the “length” function, which is public and inline, like all the functions we will add to the class. An inline function call will be replaced by it’s logic. The length function uses the pythagorean theorem to return the length of the vector.
-
The function reset changes the value of the x and y variables to 0.
-
The normalise function normalises the vector. First, we store the length in a variable with the same name. If the length of the vector is very small, let’s say smaller than 0.01, we reset the vector, this way we avoid a division by 0. Elsewise, we divide each component by the length.
-
Next, add the isZero function. His implementation is very simple: we return true if the true components are equal to 0, and false if not.
-
Finally, we have the linear interpolate, “linInterp”, function with 3 parameters: the Point we want to interpolate to, and the weight.
package;

import ceramic.Point;

/**
 * Class representing a 2 dimensional vector.
 *
 * It's an abstraction of the `Point` class with extra functions like
 * `length()` or `normalise()` that can be useful when dealing with
 * vectors.
 */
@:forward(x, y)
@:forward.new
abstract Vector2(Point) from Point to Point {
	/**
	 * @return The length of the vector
	 */
	public inline function length():Float {
		return Math.sqrt(this.x * this.x + this.y * this.y);
	}

	/**
	 * Sets the vector to an empty vector: `(0, 0)`
	 */
	public inline function reset():Void {
		this.x = 0;
		this.y = 0;
	}

	/**
	 * Normalises the vector.
	 */
	public inline function normalise():Void {
		var length:Float = length();

		if (length < 0.01) {
			reset();
		} else {
			this.x /= length;
			this.y /= length;
		}
	}

	/**
	 * Checks if the vector is components are equal to 0.
	 * @return `true` if the vector is (0, 0). Otherwise returns `false`
	 */
	public inline function isZero():Bool {
		return this.x == 0 && this.y == 0;
	}

	/**
	 * Lineally interpolates the vector toward a `Point` using the
	 * specified weight.
	 * @param to The desired future value of the vector
	 * @param weight The amount of interpolation. It must be between 0 (no interpolation) and 1 (immediately interpolation)
	 */
	public inline function linInterp(to:Point, weight:Float):Void {

	}
}
Before implementing it, we will create a function in a new class called “Utils”. Create the new class file and declare it. Add a public static inline function with the name lerp, linear interpolate, with 3 parameters: the initial value, the desired value, the weight, and the precision with a default value of 0.01.
This function interpolates the initial value to the desired value using a weight. Store the result of the formula “from + (to - from) * weight”. If the absolute value of the result is smaller than the precision, change the result to 0. This is to avoid having returning very small values that could make the isEmpty function return false even though the components are practically 0. At the end of the function, return the result.
package;

class Utils {
	public static inline function lerp(from:Float, to:Float, weight:Float, precision:Float = 0.01):Float {
		var result:Float = from + (to - from) * weight;

		if (Math.abs(result) < precision) {
			result = 0;
		}

		return result;
	}
}
Back at the “linInterp” function of the Vector2 class, interpolate each component using the function we just created. Note that we don’t need to create a new instance of the Utils class to use the function because lerp is a static function.
public inline function linInterp(to:Point, weight:Float):Void {
	this.x = Utils.lerp(this.x, to.x, weight);
	this.y = Utils.lerp(this.y, to.y, weight);
}
The vector class is all ready, we can start using it.
Open the Plane script and create 2 float constants. In haxe we use the “final” type to denote constants. The first constant is the acceleration and it should be a number between 0 and 1, with 0 meaning that there is no acceleration and 1 meaning that the acceleration is instantaneous. The other constant is the friction, it must be a value between 0 and 1 like the previous one.
Below the speed variable, add two new Vector2 variables: the first one called direction, and the second one called velocity.
class Plane extends Quad {
	final ACCERELATION:Float = 0.25;
	final FRICTION:Float = 0.15;

	var speed:Int;
	var direction:Vector2;
	var velocity:Vector2;
    // [...]
Inside the constructor initialise these last 2 variables to a new Vector2. We don’t pass any parameters, so, the x and y components of the vector will be set to 0 by the Point constructor. Remember that the Vector2 class is an abstract type of the Point class and, because of that, it uses the Point constructor.
Next we need a function that is called every frame to update the velocity with the direction, apply friction and move the plane. To do this we can bind the update function from the app variable. So, let’s call the onUpdate function of the app variable with this as the owner parameter and update as the handler. Now, you just have to create the update function and it will be called automatically every frame.
public function new(texture:Texture, pos:Point, speed:Int) {
   super();
    // [...]
    direction = new Vector2();
    velocity = new Vector2();

    app.onUpdate(this, update);
}
Firstly, check if the direction is not a zero vector. If that’s the case, normalise it and use the linInterp function to interpolate the velocity vector. The first parameter is the desired value, so create a new vector with each direction component multiplied by the velocity. The second parameter is the weight, use the acceleration constant.
Next, after the if, increase the x position of the plane adding to it the x component of the velocity multiplied by delta. The same with the y position, add to it the y component of the velocity multiplied by delta.
Finally, apply the friction using the linInterp function of the velocity. This time we pass a new vector without parameters to make the velocity move towards a 0. And we put the friction constant as the second parameter. With that done, the Plane class is finished.
function update(delta:Float) {
	if (!direction.isZero()) {
		direction.normalise();
		velocity.linInterp(new Vector2(direction.x * speed, direction.y * speed), ACCERELATION);
	}

	x += velocity.x * delta;
	y += velocity.y * delta;

	velocity.linInterp(new Vector2(), FRICTION);
}
The last thing we have to do is add input to the player. So, go to his class and override the update function. Inside the overridden function, reset the direction, this way it will be setted to 0 every frame.
Now, we have to check the player input. Let’s start from the left. We can check if a keyboard button has been pressed using the keyPressed function of the input shortcut variable. The parameter is the key we want to check, LEFT for the left arrow. So, if the left arrow has been pressed we decrease the x component of the direction by 1. And the same with the other directions.
override function update(delta) {
	direction.reset();
	if (input.keyPressed(LEFT)) {
		direction.x -= 1;
	}
	if (input.keyPressed(UP)) {
		direction.y -= 1;
	}
	if (input.keyPressed(RIGHT)) {
		direction.x += 1;
	}
	if (input.keyPressed(DOWN)) {
		direction.y += 1;
	}

	super.update(delta);
}
The direction vector will be updated every frame with the corresponding direction of the keys we are pressing.
To move the player we have to call the update function of his parent class, the Plane class. To make that, we can use super to accede the parent update function.
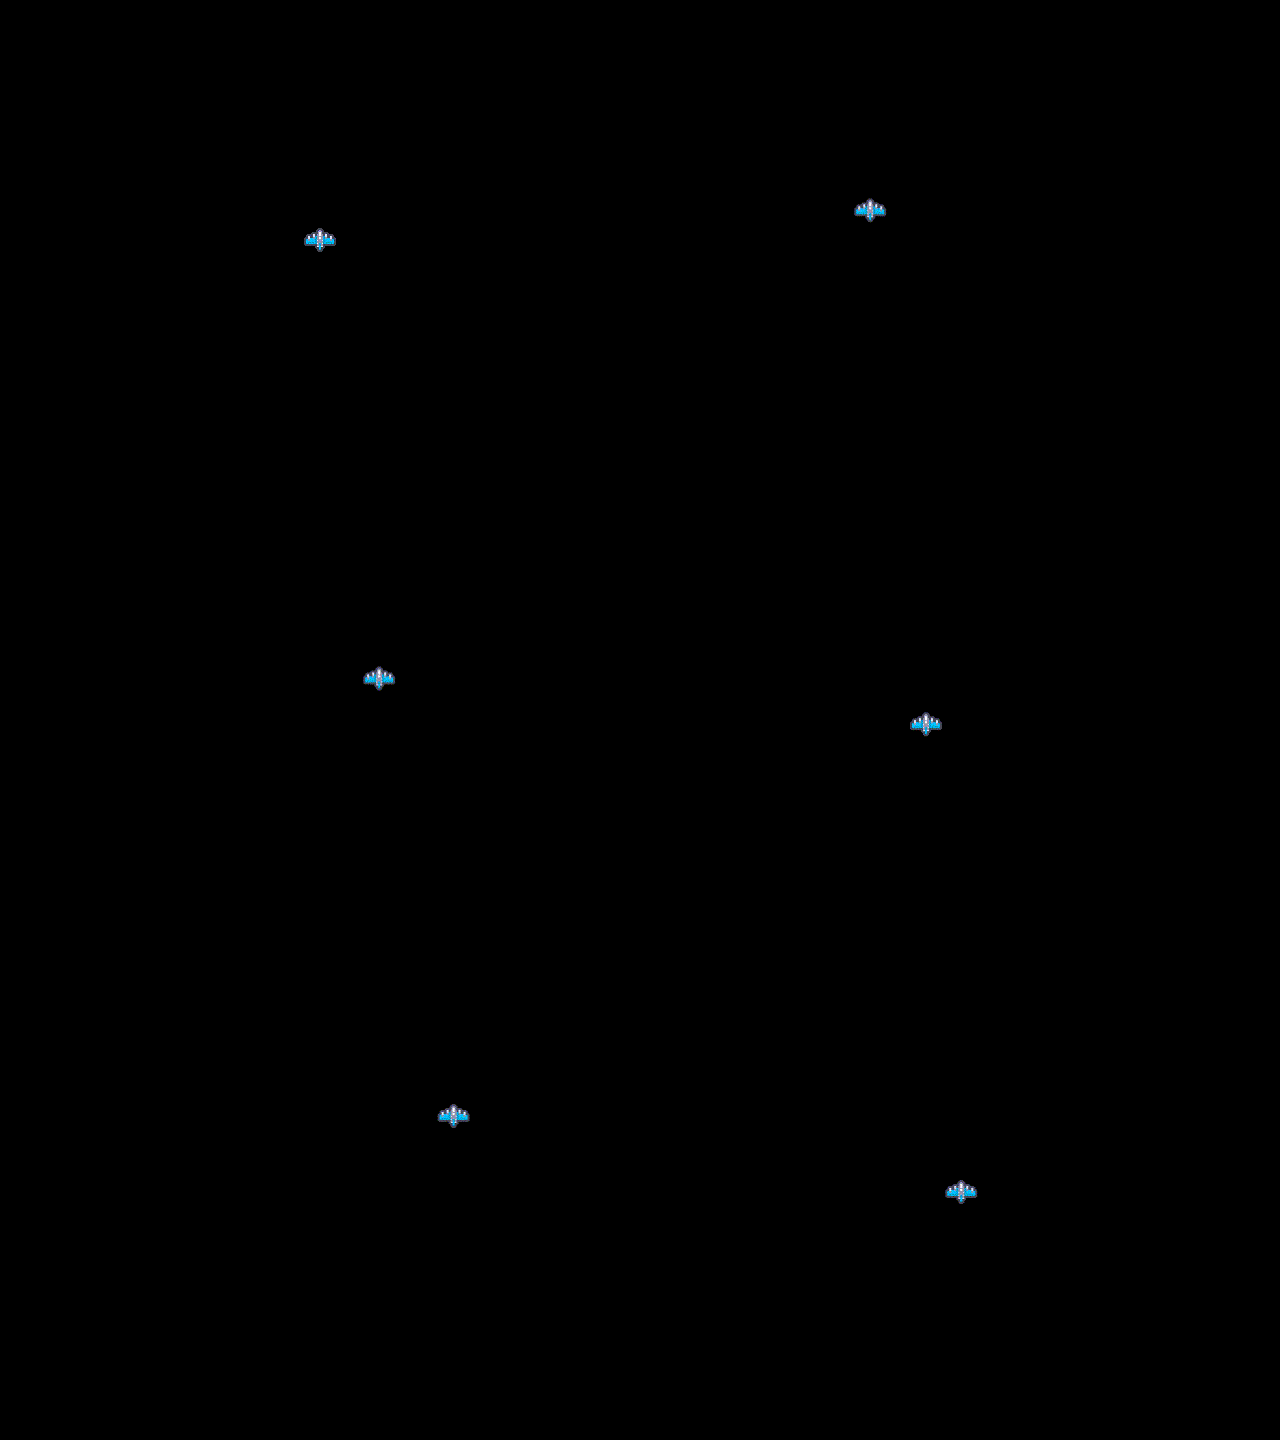
Finally, play the game and try to move the player:

