Plane Shooter #2: Shooting
In this tutorial we are going to make a shooting mechanic for the plane we added in the previous tutorial. But, before that, let’s modify the display dimensions.
The window’s width and height can be set from the Project.hx file located in the src directory.

The new function of the Project.hx file is the starting point of our app. This is where the window settings are specified and the main scene is loaded. By default, the width and height of the game have a size of 640 and 480 pixels respectively. This is a 640/480 = 4/3 aspect ratio. Most computer screens have a 16/9 aspect ratio, so I kept the width of 640 but I changed the height to 576. Also, I changed the size of the window to 1024 width and 570 height using the windowSize function. The scaling is set to FIT by default, so, the game will scale to fit the window, but the game size won’t change. Check this website for a list of 16/9 resolutions.
settings.targetWidth = 640;
settings.targetHeight = 360;
settings.windowSize(1024, 570);
settings.scaling = FIT;
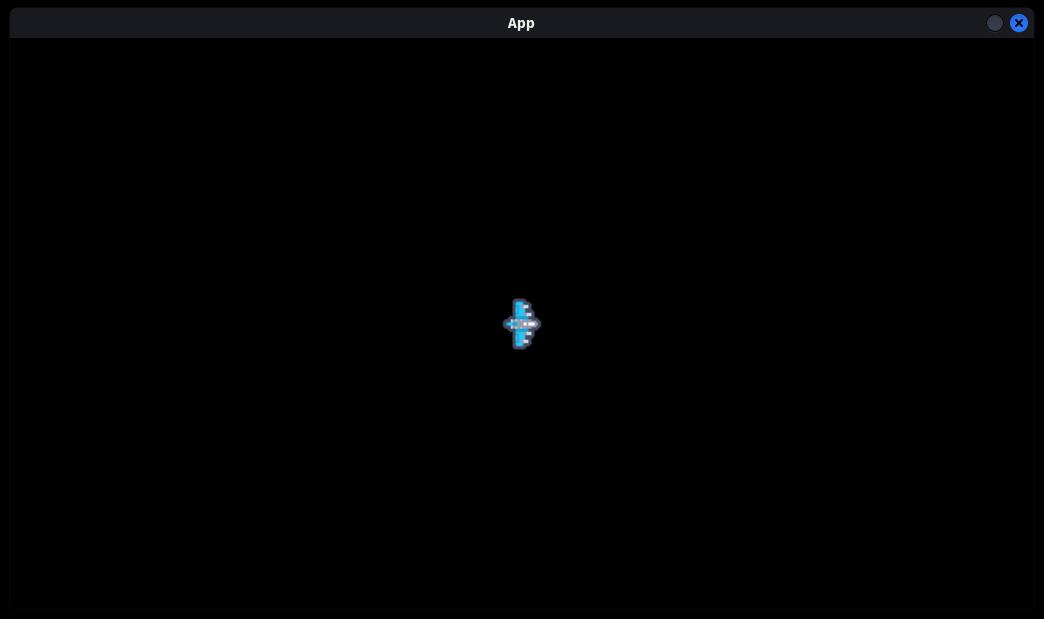
Run the game and you will see that the window dimensions have changed to the new ones.

Now, because the screen is in landscape, let’s make the player face the right. Just go to his constructor and change his rotation variable to 90 degrees.
public function new(texture:Texture, pos:Point, speed:Int) {
    super(texture, pos, speed);
    rotation = 90;
}
Create a file with the name Bullet.hx. Inside the file, define the bullet class, it has to extend the Quad class to make the bullet have a texture and a position on the screen. Add 2 global variables: a Vector2 to store the direction, and an integer to store the speed.
package;

import ceramic.Quad;
import ceramic.Texture;
import ceramic.Point;

class Bullet extends Quad {
    var direction:Vector2;
    var speed:Int;
}
Next, we have the constructor with 4 parameters:
-
The texture of the bullets.
-
A point representing his start position.
-
A Vector2 that indicates the direction in which the bullet must go.
-
An integer for the speed.
public function new(texture:Texture, startPos:Point, dir:Vector2, speed:Int) {
    super();

    this.texture = texture;
    pos(startPos.x, startPos.y);
    direction = dir;
    this.speed = speed;

    anchor(0.5, 0.5);

    rotation = 90;

    app.onUpdate(this, update);
}
Inside the constructor, call the constructor of the parent class, Quad, set the texture and position of the bullet, and initialise the direction and speed global variables. All that using the passed parameters. Also, change the anchor to the centre of the bullet image with the anchor function (when the bullet is positioned on the screen, the centre point will be taken, not the top-left corner).
Also, I set the rotation to 90 degrees because the bullets of the asset pack are facing up and I want them to face to the right.
We want to make the bullet move towards the specified direction every frame, so we need an update function. The easiest way of doing that is connecting the update function of the app to an update function we are going to add to this class. As we saw in the previous tutorial, this can be done with the onUpdate function from the app shortcut.
In the update function you just created inside the Bullet class, update the x and y positions of the bullet. We only have to add to each position component the corresponding direction component multiplied by the speed and the delta.
function update(delta:Float) {
    x += direction.x * speed * delta;
    y += direction.y * speed * delta;
}
But, now we encounter a problem. We need to pass the bullet texture to the bullet from the player class, but the player doesn’t have access to the assets variable of the scene, so, we will have to pass the bullet texture to the player constructor. There will be other planes that shoot bullets besides the player. To avoid adding a bullet texture variable for each of these planes, let’s create an intermediate class for all the planes who can shoot:
// ShootingPlane.hx
package;

import ceramic.Point;
import ceramic.Texture;

class ShootingPlane extends Plane {
    var bulletTexture:Texture;

    public function new(texture:Texture, pos:Point, speed:Int, bulletTexture:Texture) {
        super(texture, pos, speed);
        this.bulletTexture = bulletTexture;
    }

    function shoot(startPoint:Point, dir:Vector2, speed:Int) {
        parent.add(new Bullet(bulletTexture, startPoint, dir, speed));
    }
}
As you can see, it is very simple. It stores the texture of the bullet in a variable and has a function to shoot with 3 parameters: the starting position, the direction, and the speed. Inside the function, we add a new instance of the Bullet class to the parent of the plane with all the corresponding parameters. We can’t add the bullet directly as a child of the plane because, then, his coordinates would be relative to the plane coordinates (when the plane moves, the bullet would move with him).
Now, head over to the Player class and replace the extended class with the new one, ShootingPlane. The Plane functionalities are still available to the player, but now we also have the functionalities of the ShootingPlane class.
// Player.hx
class Player extends ShootingPlane {
Add a new parameter to his constructor for the bullet texture and pass this parameter to the ShootingPlane class with the super constructor.
public function new(texture:Texture, pos:Point, speed:Int, bulletTexture:Texture) {
    super(texture, pos, speed, bulletTexture);
    rotation = 90;
}
In the MainScene class, preload the texture you want for the projectile, elsewise we won’t be able to use it. When we create the player, add the bullet texture at the end of the constructor, we can get the texture the same way we did with the player plane texture, with the assets.texture function.
override function preload() {
    // Add any asset you want to load here

    assets.add(Images.KENNEY_PIXELSHMUP__SHIPS__SHIP_0000);
    assets.add(Images.KENNEY_PIXELSHMUP__TILES__TILE_0000); // The bullet asset
}

override function create() {
    // Called when scene has finished preloading

    // Display player
    player = new Player(assets.texture(Images.KENNEY_PIXELSHMUP__SHIPS__SHIP_0000), new Point(width / 2, height / 2), 300,
        assets.texture(Images.KENNEY_PIXELSHMUP__TILES__TILE_0000));
    add(player);
}
Back at the Player class, we need a mechanism to shoot the bullet when a key is pressed, but we need a cooldown too to avoid shooting like 60 bullets every second. For that purpose, create a global boolean variable, “canShoot”, to store if the cooldown has finished and the player is able to shoot again. Initialise it to true (the player should be able to shoot at the start of the game).
class Player extends ShootingPlane {
    var canShoot:Bool = true;
    // [...]
At the update function, add a new if to check if the player is pressing the attack button, the space in my case, and can shoot. If these 2 conditions are met, set the canShoot variable to false and call the shoot function we implemented in the ShootingPlane class:
override function update(delta) {
    // [...]

    if (input.keyPressed(SPACE) && canShoot) {
        canShoot = false;
        shoot(new Point(x, y), new Vector2(1, 0), 200);
    }

    super.update(delta);
}-
The first parameter is the bullet start position, let’s put the centre of the player for the moment.
-
I pass a normalised vector to the right as the second parameter.
-
And the last parameter is the speed, 200 will be fine.
As it is now, after the first shot the player won’t be able to shoot anymore because we don’t set the canShoot variable back to true. To do that we can use the delay function of the Timer class (of the ceramic package, not the haxe package, they have the same name). The first argument is the owner, the second argument is the wait time, and the last one is the function that will be executed when the time runs out. As you can see, that function sets the canShoot variable to true.
if (input.keyPressed(SPACE) && canShoot) {
    canShoot = false;
    shoot(new Point(x, y), new Vector2(1, 0), 200);
    Timer.delay(this, 0.6, function() {
        canShoot = true;
    });
}
So, after 0.6 seconds passed after shooting, the function we passed as the third argument of the delay function will be called and the player will be able to shoot one more time, repeating the process.
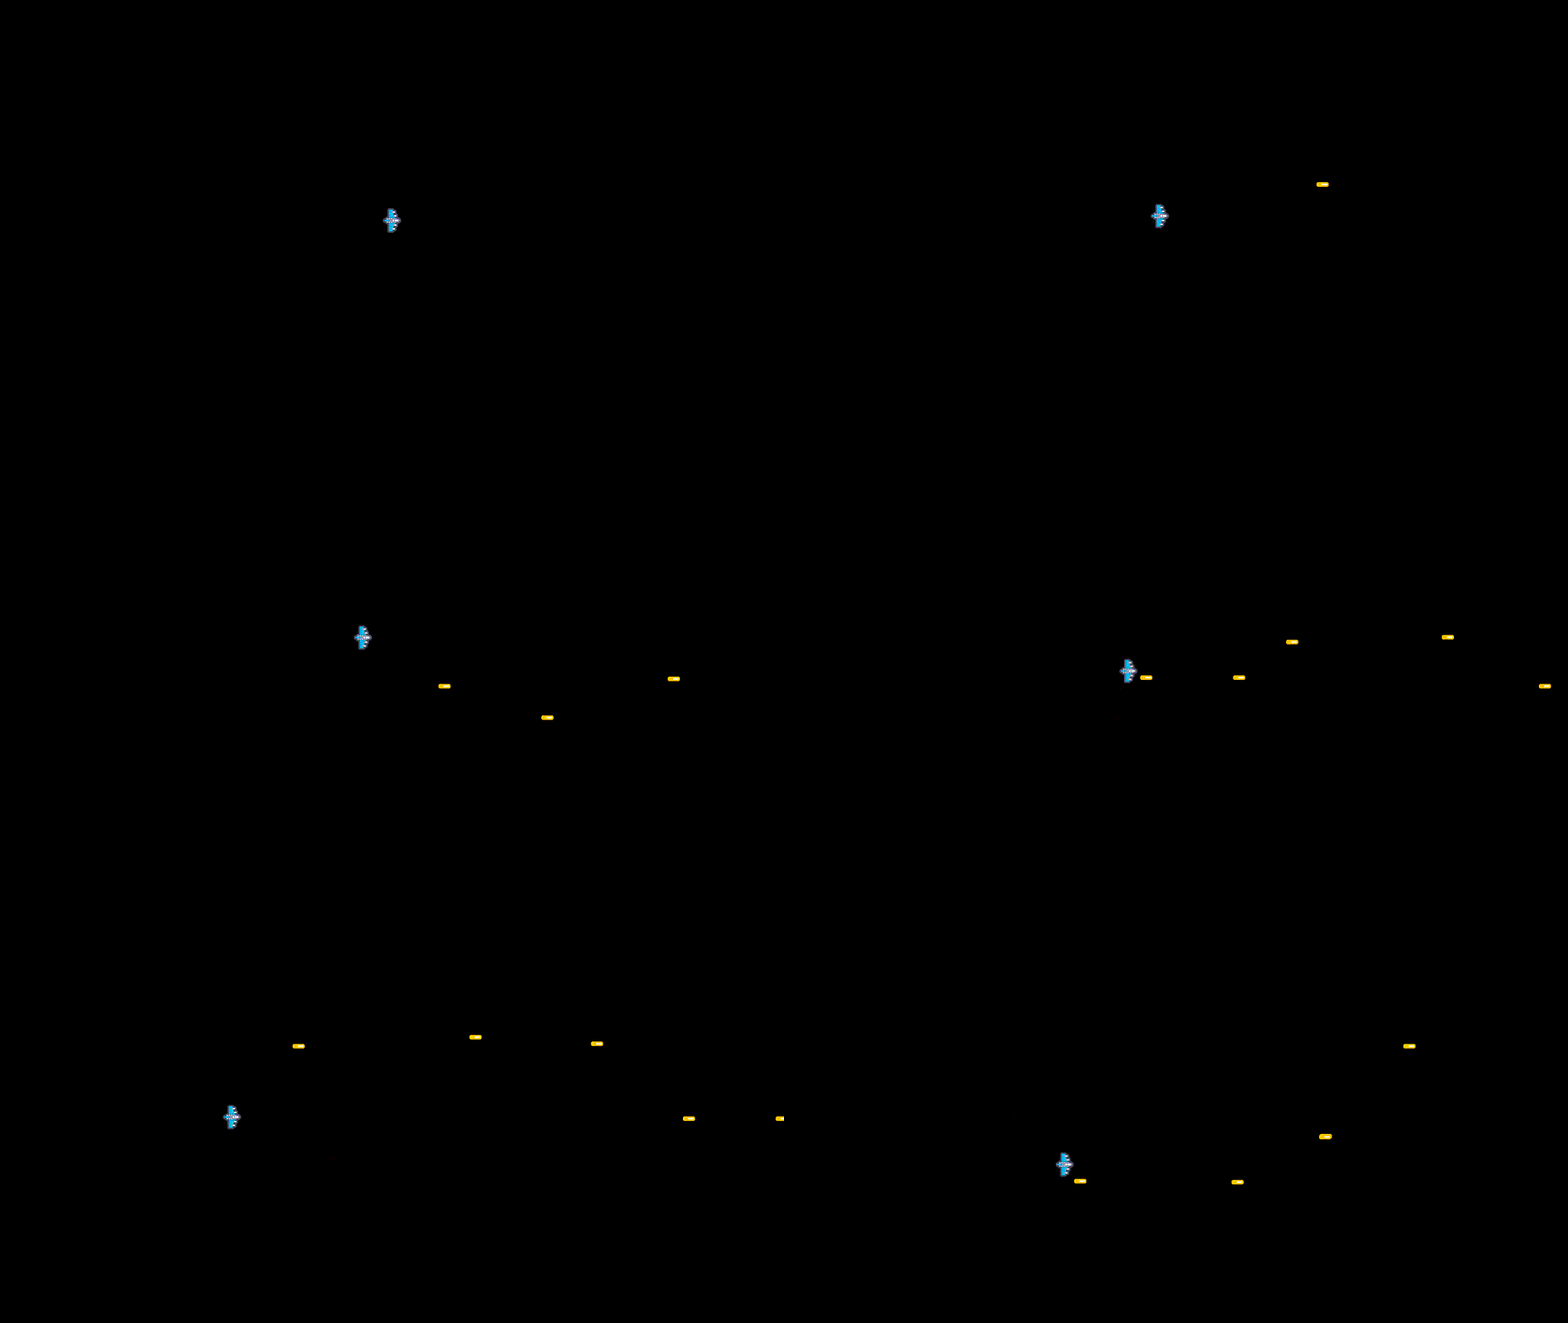
Now, if you play the game and press the shoot key, you will see that the player shoots:

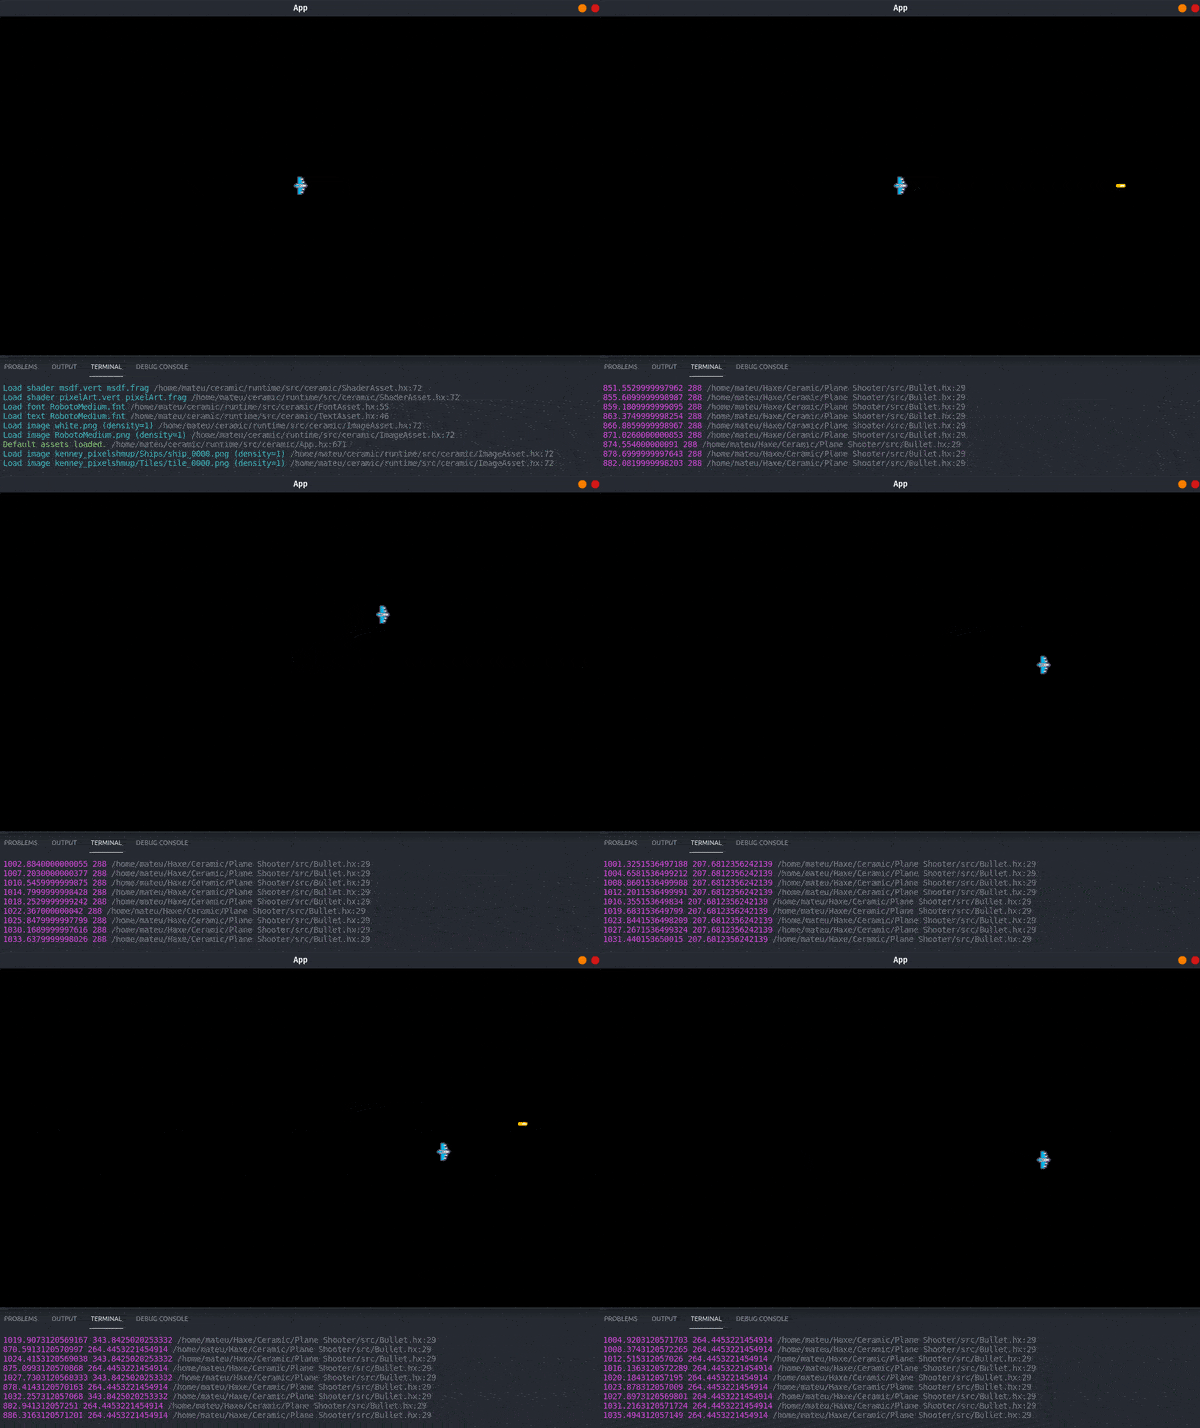
So, nice job, right? NO! We are shooting a lot of bullets, but what happens with them when they leave the screen? To see it, debug the x and y position at the update function and play the game again, this is the output I get:
// Bullet.hx
function update(delta:Float) {
    x += direction.x * speed * delta;
    y += direction.y * speed * delta;
    log.debug(x + " " + y); // Print bullet position to the terminal
}
This is what will happen if we don’t free the bullets, they will move to the right infinitely until…

We need to detect when the bullet exits the screen, and remove it as fast as possible. We can do that with a simple if:
function update(delta:Float) {
    x += direction.x * speed * delta;
    y += direction.y * speed * delta;
    log.debug(x + " " + y); // Print bullet position to the terminal

    // Destroy the bullet when she exits the screen
    if (x + width * anchorX < 0 || x - width * anchorX > screen.width || y + height * anchorY < 0 || y - height * anchorY > screen.height) {
        destroy();
    }
}
I only check if the object is outside the screen, horizontally or vertically, and, in that case, I free it with his destroy function. We can get the width and height of the game using the shortcut screen variable. Note that I use the anchor values to offset the position to make sure that the bullet is not freed with half his texture visible, remember that we configured the texture to be centred at the object position (with anchor(0.5, 0.5) in the constructor).
Try it again:

When the bullets exit the screen, we stop to receive their position, as we can see in the terminal. The bullets have been destroyed correctly!
