Download All Images From Amazon Photos
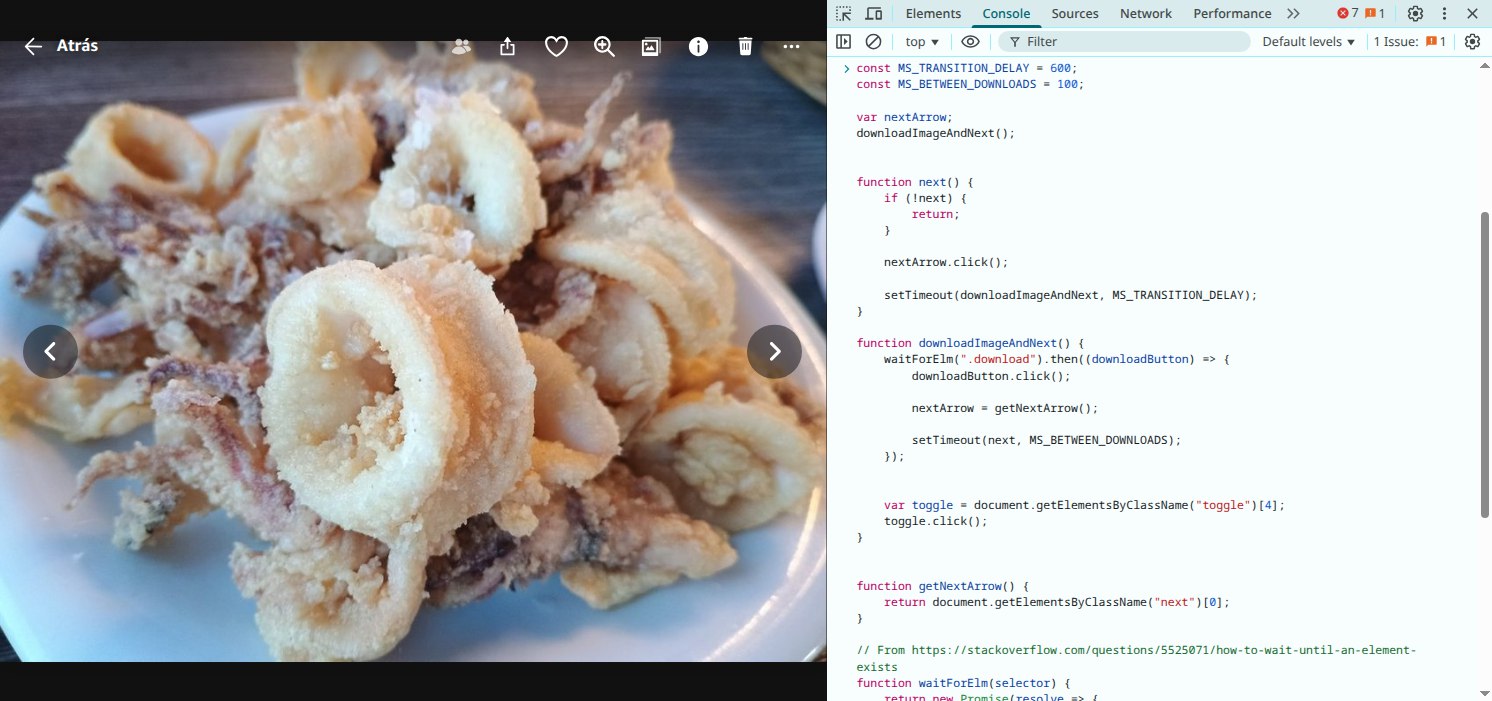
The pieces of shit from Amazon do not allow to download at once all the images from Amazon Photos. Below I will show a little js code i wrote to automatize the process.

The pieces of shit from Amazon do not allow to download at once all the images from Amazon Photos. Below I will show a little js code i wrote to automatize the process.
If you are learning a language with a LOT of characters like japanese and you find some text that can’t be copied, if you don’t know the characters, you are fucked, how do you know what that word means?

To get the characters on text format, we can use a OCR tool to transform a screenshot to text. I’m going to use tesseract.
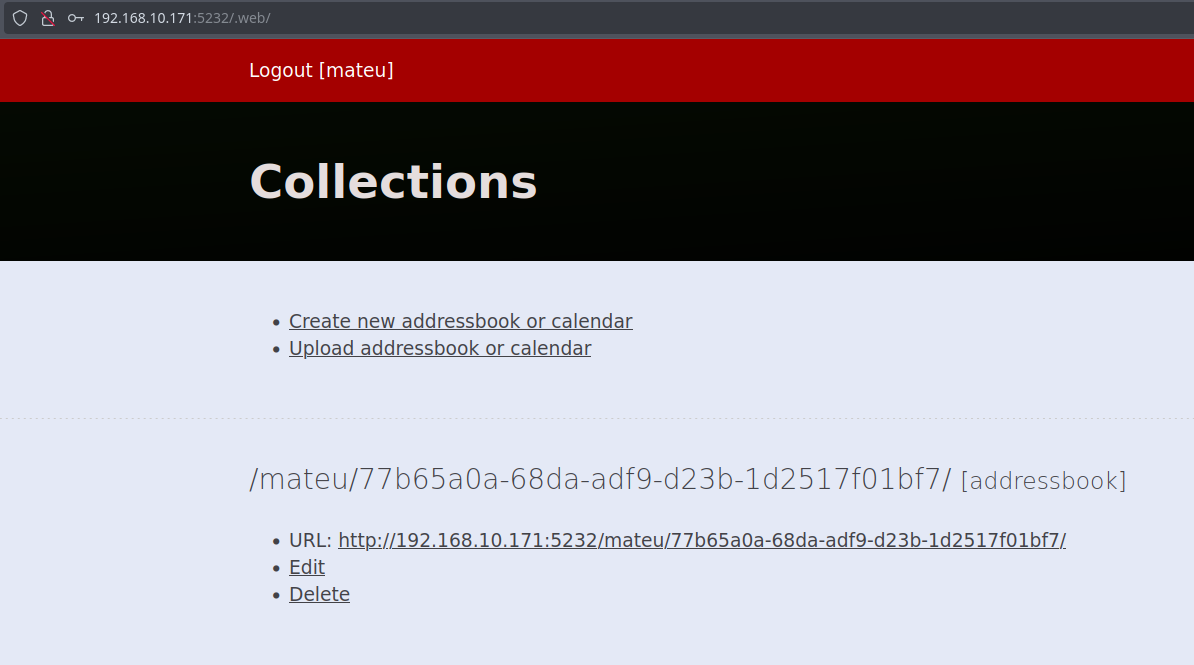
Having to manage contacts and calendars separately from different devices is a pain in the ass, let’s see how to synchronize them.
Open and analyze program:
To automatically mount a partition on startup we need to add a line to the fstab file. But first we need the UUID of the partition.
To view all the block devices use the lsblk command:
I always use the signal body_entered to detect collisions. This signal has a parameter with the body of the collision. But here’s the problem: if it collides with the shape of a tile it will always return the TileMap object, independently of which tile we collide with.
In my case I wanted to detect the house where the villager is, so his projectiles don’t collide with it but can still collide with other tiles like trees:
The basic command to compile an export template is:
scons platform=linuxbsd target=template_releaseWhere platform could also be windows, android… instead of linuxbsd. Both templates can be compiled at the same time using template_debug/template_release.
To load a json into a dictionary we can use the following code:
var data: Dictionary
var file: File = File.new()
if file.open("res://assets/weapons.json", File.READ):
	printerr("Error opening weapons json")
data = JSON.parse(file.get_as_text()).result
file.close()
In this tutorial, we will show error messages when a client tries to connect to an invalid room or the game of the room already started.

In this tutorial we are going to make a character selector. After the tutorial, you will be able to chose a texture and a name for your character.

Today we will make the clients able to attack other clients. Currently, you can damage the other players, but the other players don’t know about it. Let’s start implementing the die function.

In this tutorial, we are going to synchronize the player position, as well as his animation, between all the clients. We will also synchronize the flip_h property of the player, so when a client is facing the left, it will be facing the left in all the clients. Let’s get started.

In this tutorial we are going to make the transition to the game scene. But, first, I would like to fix a bug with the last tutorial.

In this tutorial we are going to implement the list of the players and handle the disconnections.

In the last tutorial we made the client create a room. In this one, we are going to make the clients able to join a room created by another client. Let’s get started.

In this tutorial we are going to start making the menu and handle the connections. Let’s get started.

In this tutorial we are going to make the state machine and the hitbox. As you will see, I implemented the platforms. I’m not going to show it in the tutorial, if you are interested check my tutorial about platforms. But, anyway, the platforms don’t affect the rest of the game at all, so, it’s not necessary to add them. Let’s start implementing the state machine.

In this tutorial we are going to make the map and the player movement. Without further delay, let’s get started.

In this new series we are going to make a multiplayer game from scratch using the Godot game engine. The final result will be that:
I have this atlas:
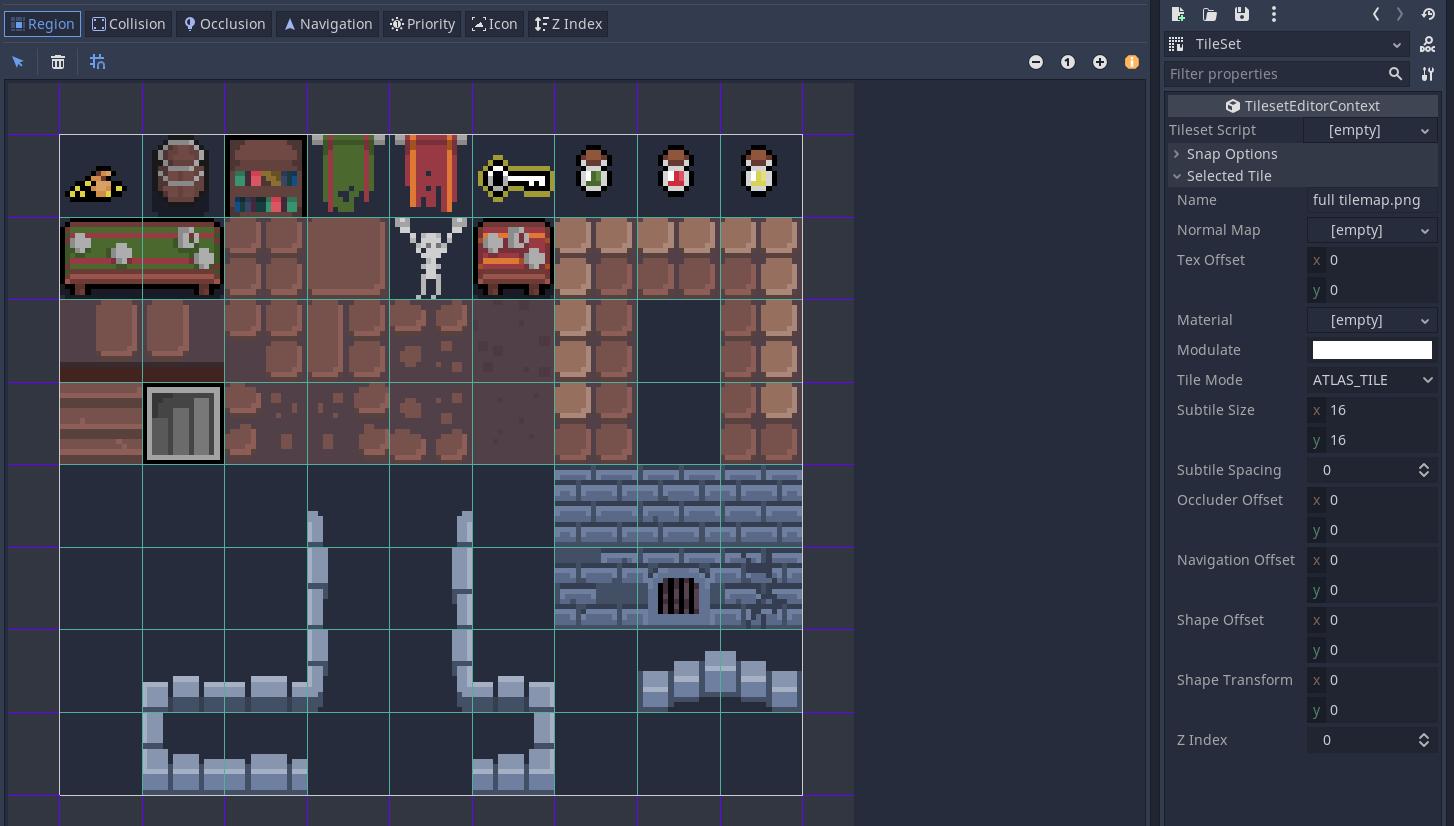
Now, I want to set cells of the TileMap with tiles that are inside the atlas. The index of my atlas is 0. You can see the index at the side of the tile name:
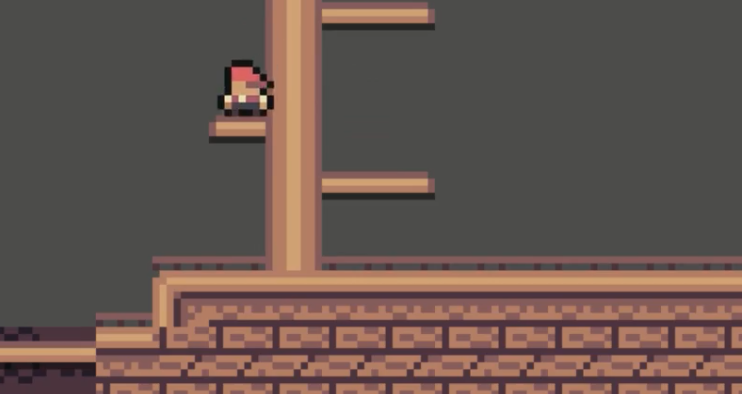
First of all, we need a layer only for the platforms, I already created it in the project configuration, I gave it the name “Platforms”.
Today I installed Waterfox. It comes inside a tar archive, so it doesn’t appear at the application menu, we have to add it manually. The process is the same if you want to add any other application.
We have to go to /usr/share/applications/. In this location there is plenty of .desktop files for all the apps we already have in the application menu.
To exit the game and close the window, you only have to call the exit function available in the System class of the hxd package:
hxd.System.exit();Add the sqflite package in the pubspec.yaml dependencies. Add the path_provider package too, we will use it for the join function.
dependencies:
  flutter:
    sdk: flutter
  sqflite: ^2.0.2
path_provider: ^2.0.9Hey bros, I was making a random character generator and I needed to manipulate textures. You know, cropping an image, putting one image on top of another, these things. I couldn’t find any tutorial about it, so I will make one myself.
The project I’m going to use only has two nodes: a Node2D as root, and a Sprite to display the modified image as his child.

In this tutorial we are going to make a shooting mechanic for the plane we added in the previous tutorial. But, before that, let’s modify the display dimensions.
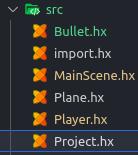
The window’s width and height can be set from the Project.hx file located in the src directory.
In this tutorial we are going to implement the wander and enclosure steerings. We will make the character move randomly inside a defined area. This steering is useful, for example, with characters that don’t have anything to do until the player approaches them.
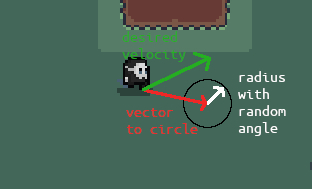
Before starting coding, let me explain a little how the wander steering works. We create a circle in front of the character. Then, we add the radius of the circle with a random angle to the vector to the circle and we obtain the desired velocity. We will modify the angle a little every frame, so the character won’t change direction all of a sudden.
In the last tutorial, we made the character follow the mouse and avoid rocks, but if we leave the mouse still, we can observe that the character doesn’t stop moving. He keeps moving like a pendulum.
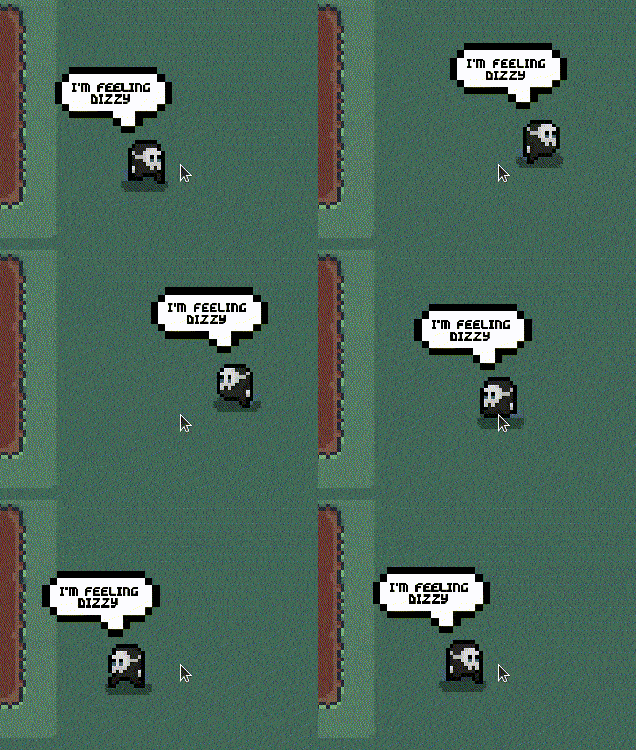
While I was making the roguelike series, I found a few problems with the pathfinding: the paths are weird, the enemies can’t detect other enemies and the movement doesn’t look natural. So, I will make some tutorials about steering behaviours, a way to make the characters aware of their surroundings. We will start implementing the seek and avoid obstacles behaviours.
We will start displaying the player image instead of the Ceramic logo.
Create a new script with the name “Plane”. Extend the class from the Quad class. Quad is a Ceramic class with a position and a texture, perfect for displaying sprites on the screen. All the planes will inherit from the Plane class. Add a global integer variable called speed, we will use it later to make the plane movement.
package;

import ceramic.Quad;

class Plane extends Quad {
    var speed:Int;
}In this series of tutorials we will make a top-down shooter with planes using the Ceramic framework. Ceramic is a very recent 2d framework powered by the Haxe language. It seems very cool and has a lot of export platforms, so, let’s make a simple game with it!
